Let’s cut to the chase: This fascinating project leverages AI to animate characters straight from English textbooks, making them speak the target language. It’s an innovative and engaging approach to language learning! Let’s dive right in.
I. Tools Required:
- Jimeng AI: https://jimeng.jianying.com/ (For digital human video generation)
- CapCut PC Version: (For video editing and compositing)
- Doubao (豆包): https://www.doubao.com/ (For image processing and 3D conversion)
II. Step-by-Step Guide:
-
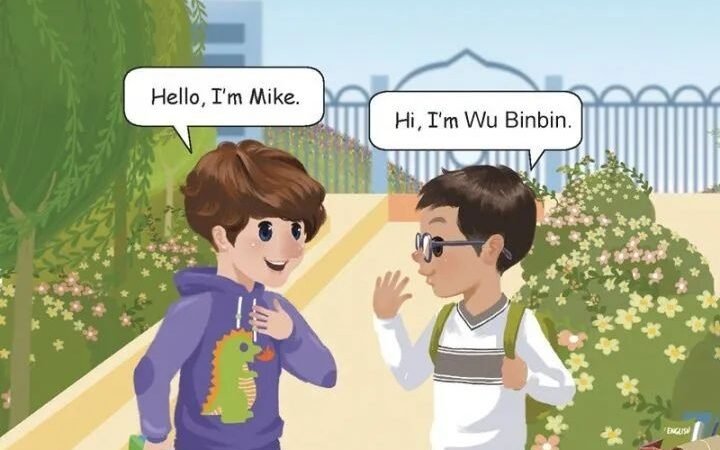
Source the Character Image: Begin by searching Baidu for character images from a fifth-grade English textbook. Download your chosen image. (This basic search step is straightforward and won’t be demonstrated here).
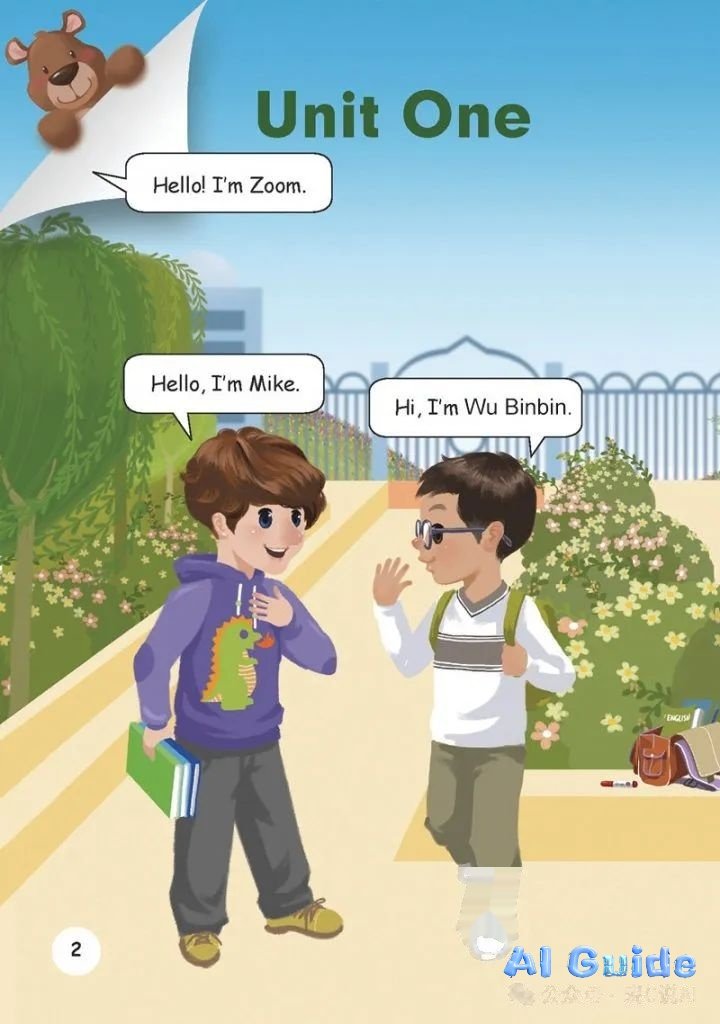 (Example Image: Fifth-grade textbook page) We selected this image and used a cropping tool to isolate the desired character.
 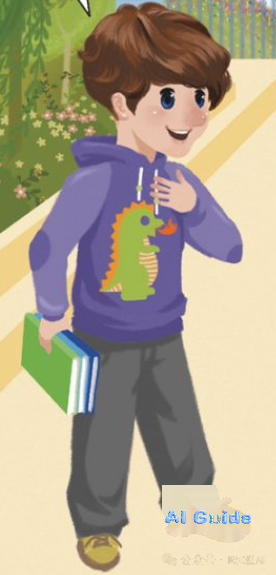 (Example Image: Cropped character – “this guy”)
 -
Convert to 3D with Transparency: Upload the cropped character image to Doubao. Use the prompt:
Transform the uploaded image into a 3D model with a transparent background, output as a PNG file.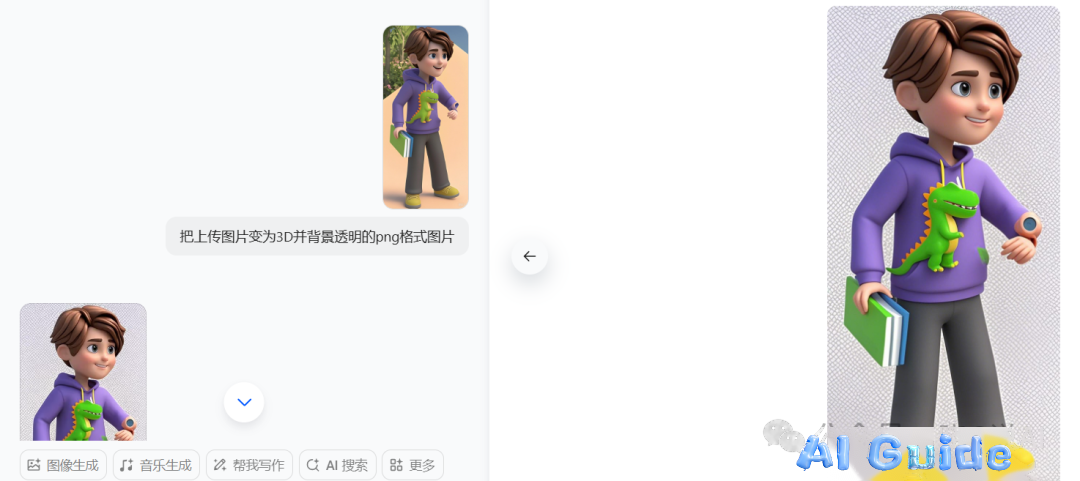 (Example Image: Doubao interface showing the 3D conversion prompt and result) Download the generated 3D PNG image to your local device.
 -
Generate the Speaking Digital Human Video: Open Jimeng AI and navigate to the “Digital Human” feature.
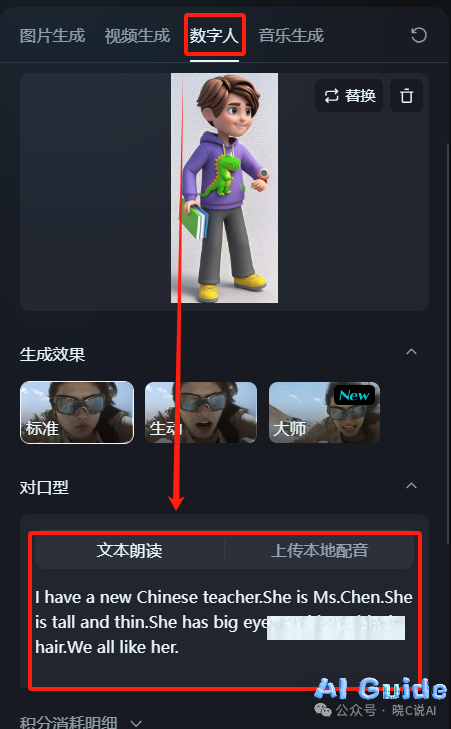 (Example Image: Jimeng AI Digital Human interface) Upload your downloaded 3D character image in the “Character” section. Select the “Text-to-Speech” option. Input the English script into the text box, for example:
 I have a new Chinese teacher. She is Ms. Chen. She is tall and thin. She has big eyes and long black hair. We all like her.Click “Generate Now”, wait for the video to process, and download it locally.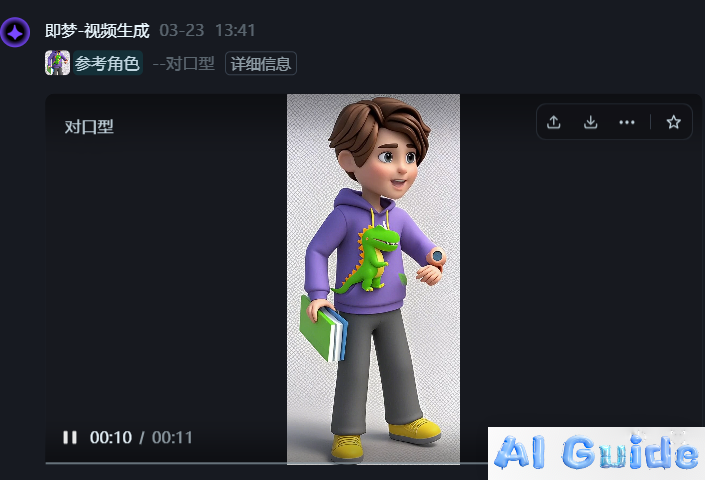 (Example Image: Generated video preview of the character speaking)
 -
Create a Background Scene: Still within Jimeng AI (likely using an image generation module), generate a suitable school background. Use the prompt:
Children's picture book style, elementary school campus, front view, spring season, no people, cartoon illustration.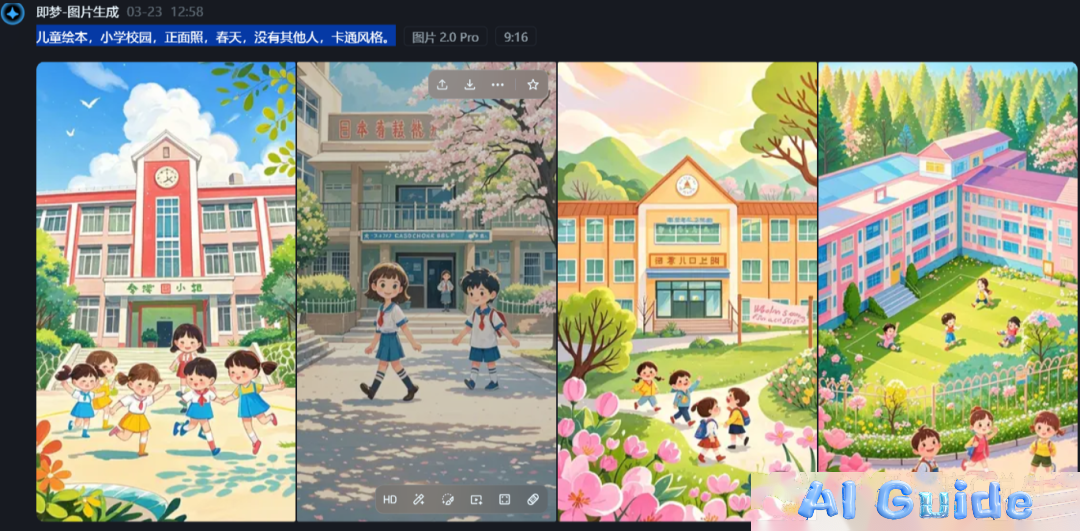 (Example Image: Generated school background options) Download the first suitable image. Use an image editing tool with an erasure function (like Photoshop, Affinity Photo, or even CapCut’s editing features) to meticulously remove any unwanted elements or placeholder figures from the background scene.
 -
Composite the Final Video: Open CapCut (PC version). Import both the downloaded speaking character video and the cleaned background image into the project media library.
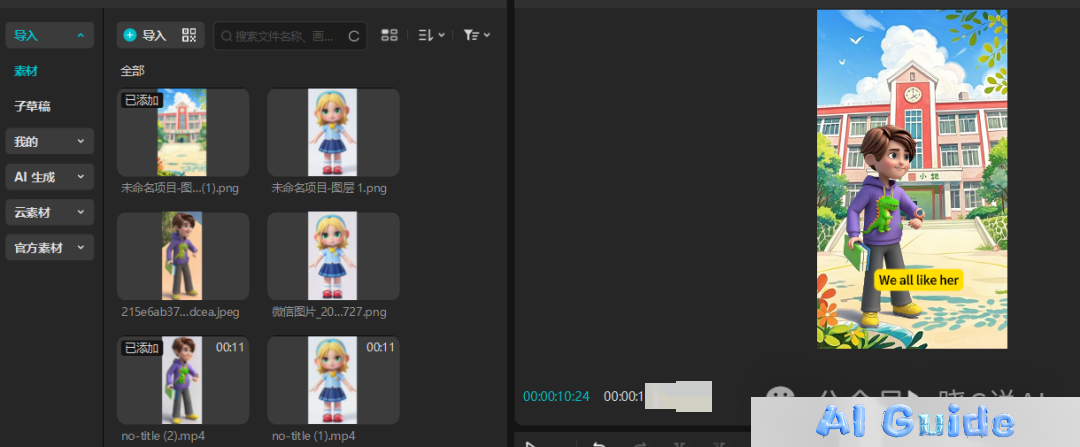 (Example Image: CapCut interface showing imported assets) Drag both assets onto the timeline. Place the background image on the lower video track and the character video on the track above it.
 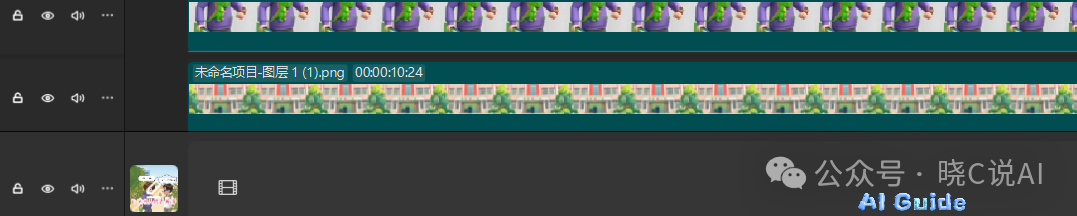 (Example Image: Assets arranged on CapCut’s timeline) Utilize CapCut’s robust editing toolkit: adjust video/audio synchronization, add subtitles/text overlays matching the speech, apply subtle transition effects or character animations if desired, and fine-tune color grading for cohesion. Once satisfied, export the final video.
 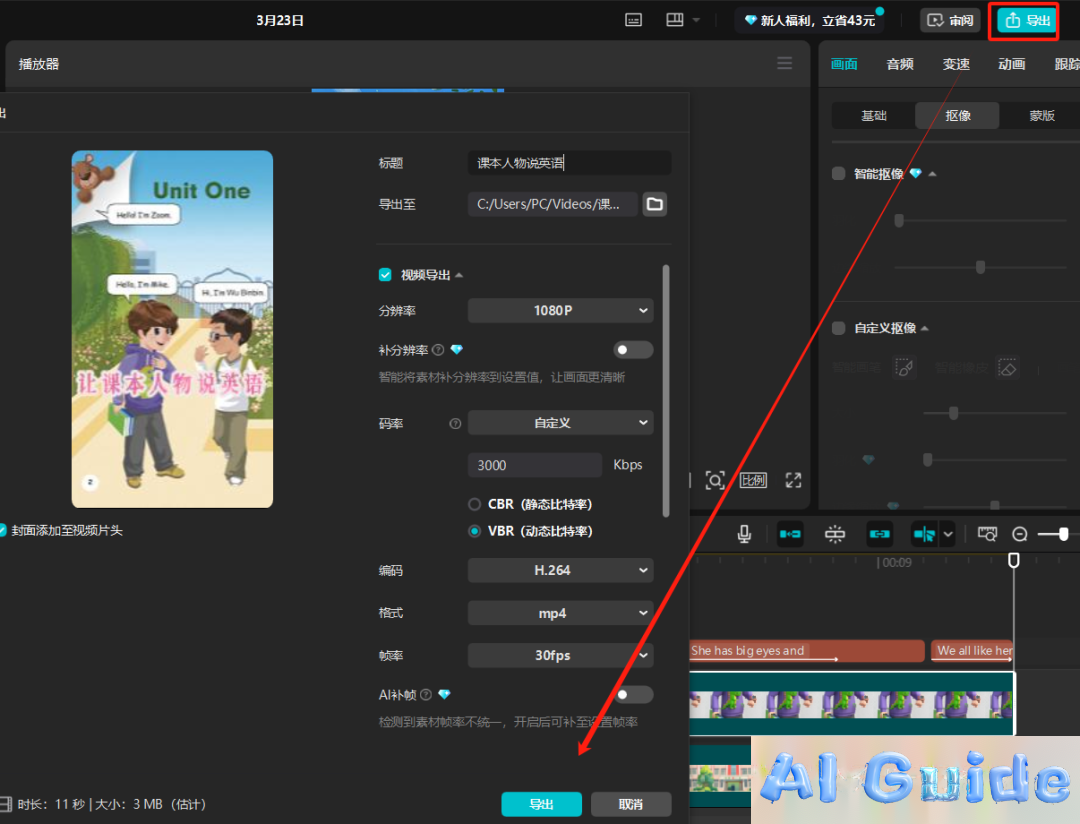 (Example Image: CapCut export settings panel) Save the high-quality rendered video file to your local drive.
Conclusion: The entire production workflow is now complete! This practical demonstration showcases how readily accessible AI tools can transform static educational content into dynamic, engaging learning experiences. Why not try replicating this process yourself? It’s simpler than you might think!