
For newcomers to Cursor, the key is to start with a simple project and quickly navigate the entire development process to familiarize yourself with essential tools and platforms. Only by mastering these fundamentals can you effectively build what you envision. This guide includes both video and text versions, leveraging my experience to help you create your first Cursor project—complete with code implementation and server deployment.
Video Version: ▶ Watch Here, Duration: 11:44
Text Version:
1. Setup GitHub Desktop
First, download GitHub Desktop and log in to your GitHub account.

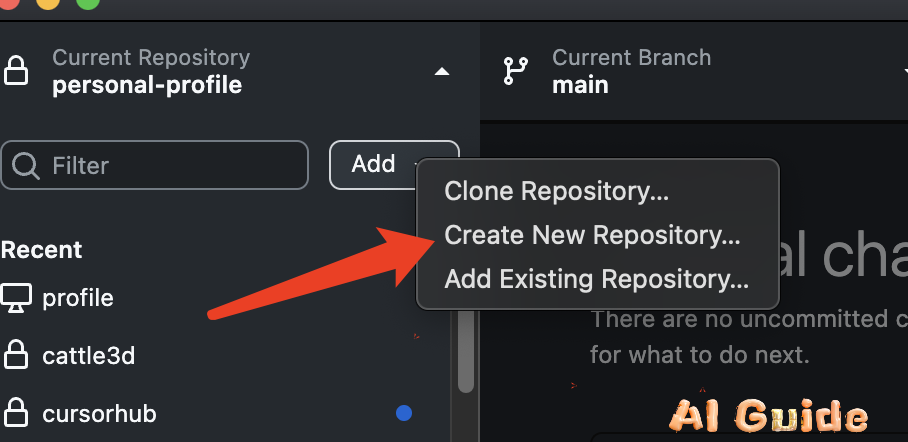
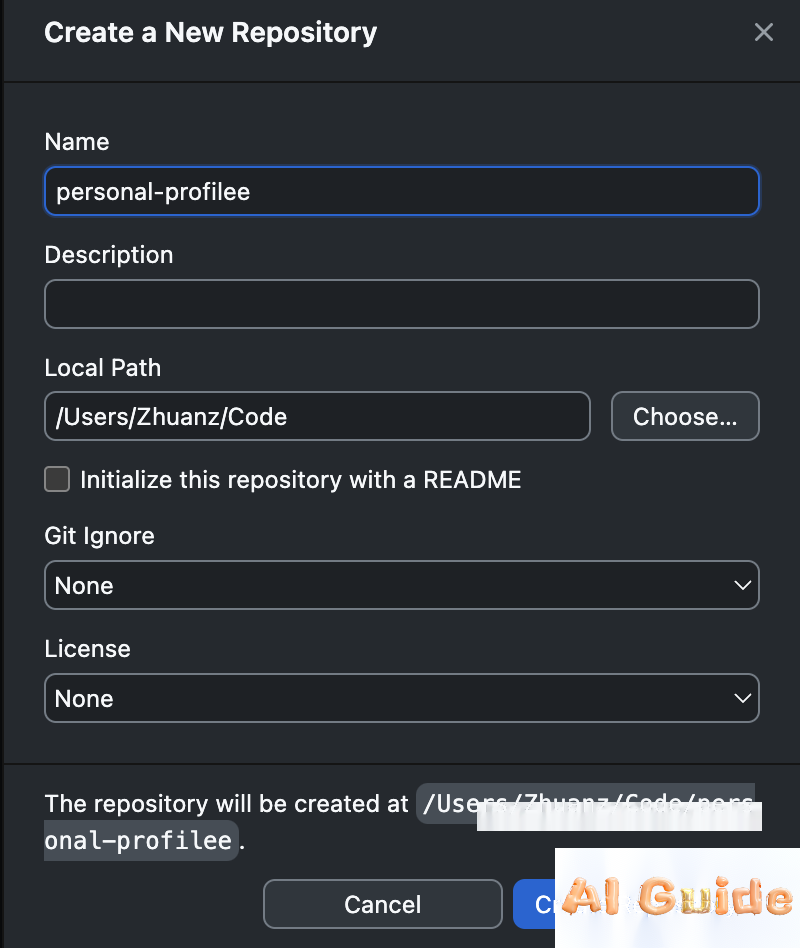
After logging in, create a new repository via GitHub Desktop. Name it freely (e.g., personal-profile), and select a Local Path to store your code locally. Remember this path—you’ll need it later in Cursor.
2. Configure Cursor
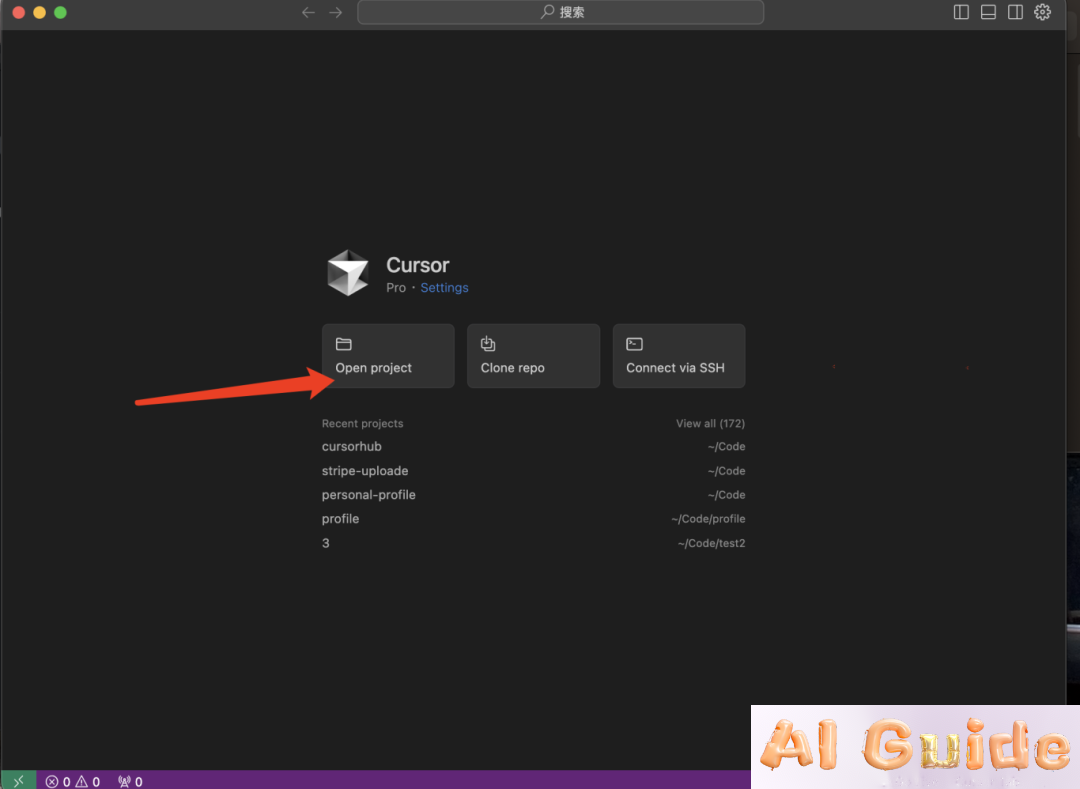
Install Cursor if you haven’t already. Open the software, click Open Project on the left panel, and select the folder you just created in GitHub Desktop.
Next, create a .cursorrules file in the root directory and paste the following rules to optimize AI-generated code quality:
You are an expert AI programming assistant that primarily focuses on producing clear, readable HTML, Tailwind CSS, and vanilla JavaScript code. Follow best practices for modern web development, prioritize readability, and ensure full functionality without placeholders. Always verify code correctness and security. 
3. Create Content Files
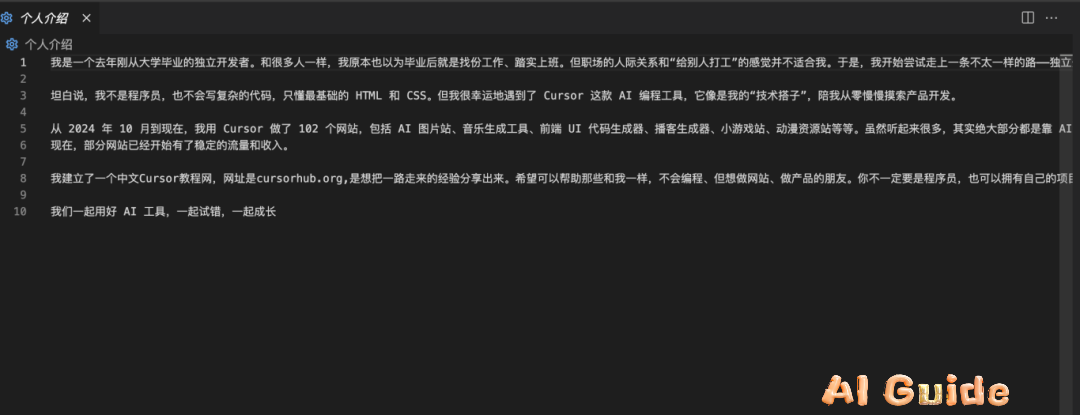
In the root directory, add a personal introduction file (e.g., about-me.md) with your bio, hobbies, and professional background.
4. Generate Website Code
Activate Cursor’s Agent Mode (using Claude 3.7 for optimal results) and input this prompt:
*”Create a personal blog with:
- A profile avatar
- A concise bio section
- A gallery for life photos
- Social media links
Design style: Modern, minimalist, and visually cohesive with my personal brand.”*
Drag your about-me.md file into the chat to provide context.

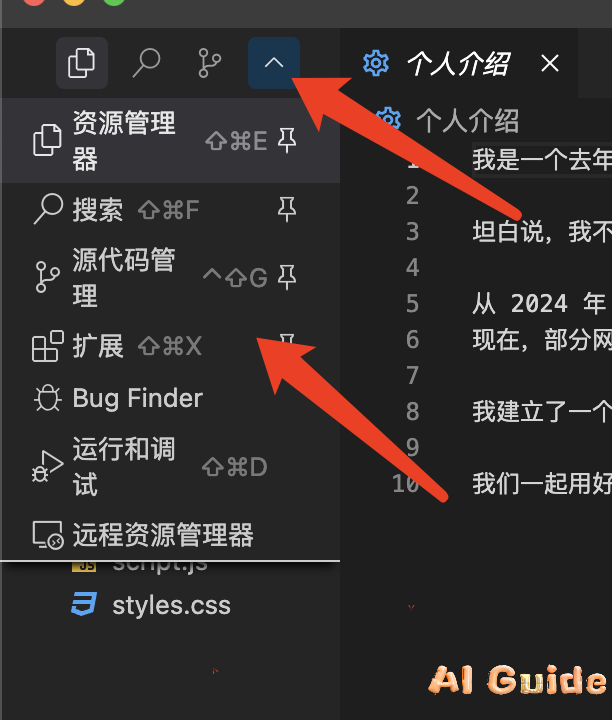
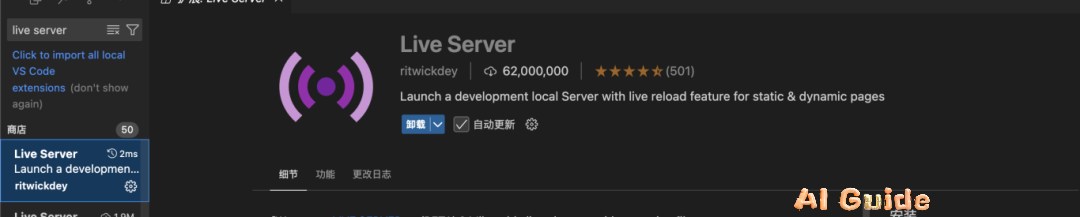
While Cursor generates code, install the Live Server extension (via the left panel) to preview HTML files locally.
5. Customize and Test
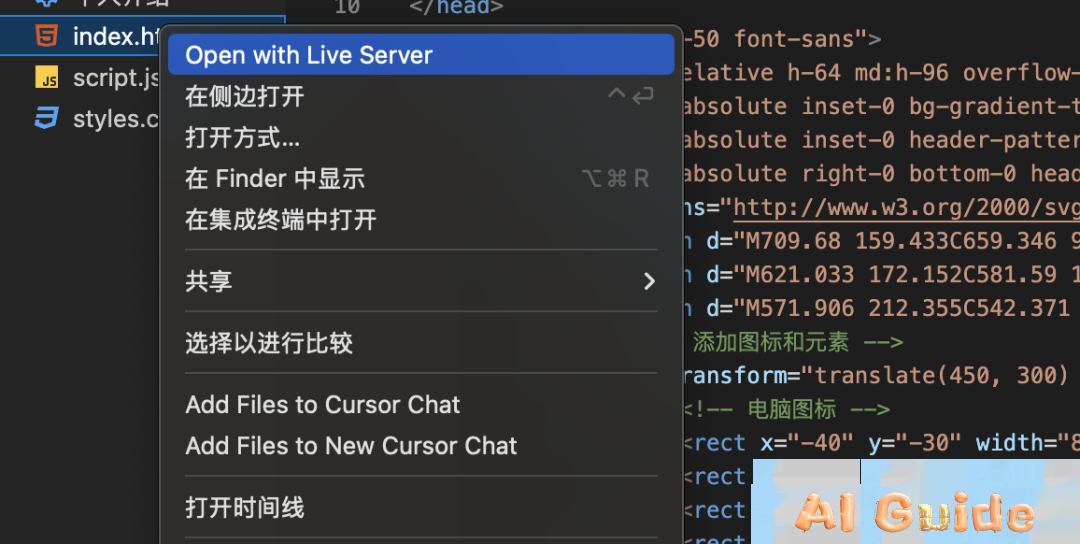
Once code generation completes, right-click the HTML file and select Open with Live Server to preview.
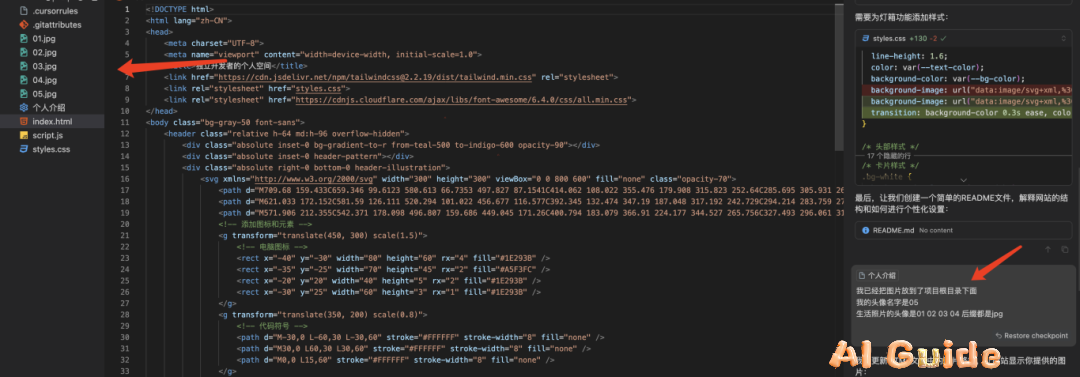
If images aren’t displayed, ensure they’re properly named and placed in the root directory. Use Cursor to update image paths dynamically:
*”Add images
photo1.jpgandavatar.pngto the gallery section using responsive<picture>tags.”*
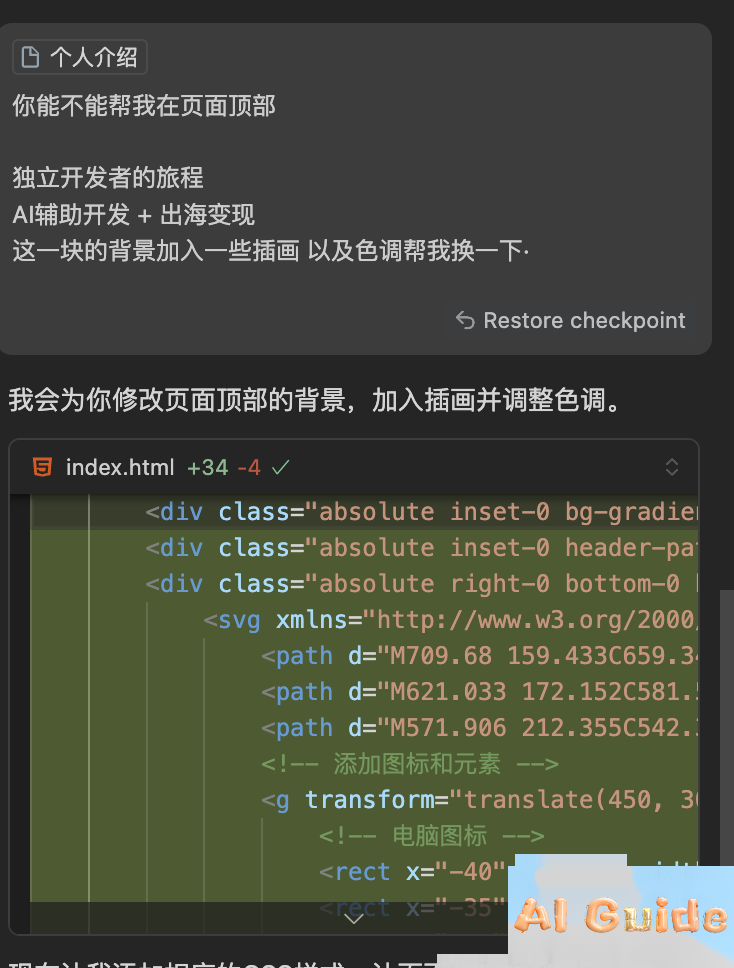
Refine the design iteratively. For example:
*”Make the bio section left-aligned with a gradient background.”*
6. Deploy with Vercel
To publish your site:
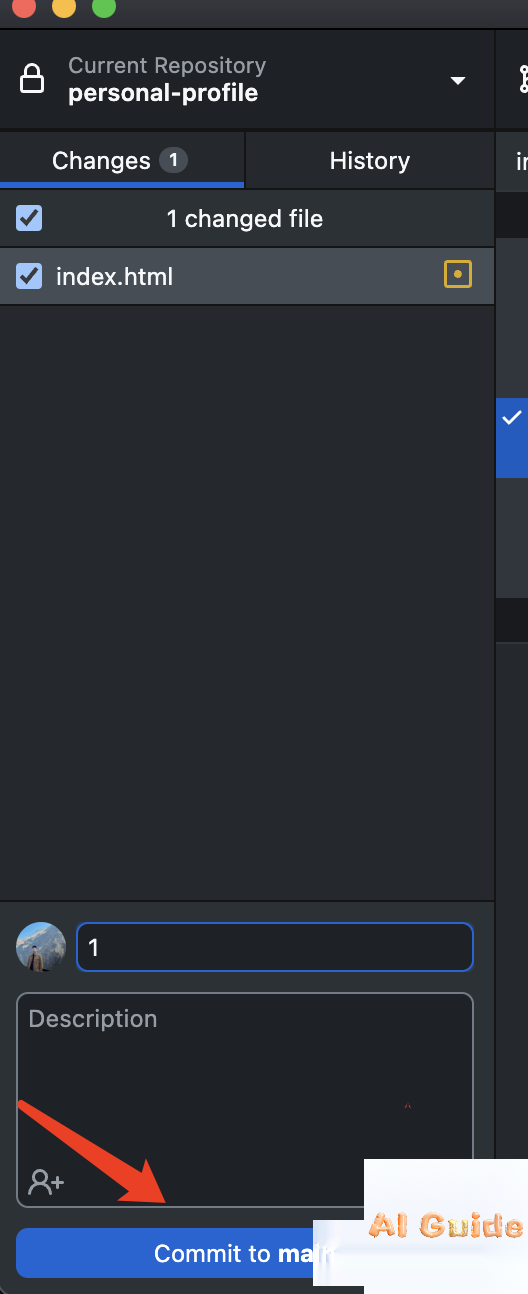
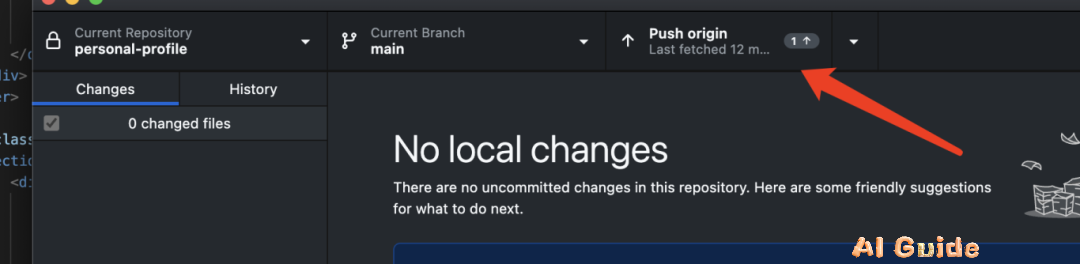
- Push your code to GitHub via GitHub Desktop (Commit → Push).
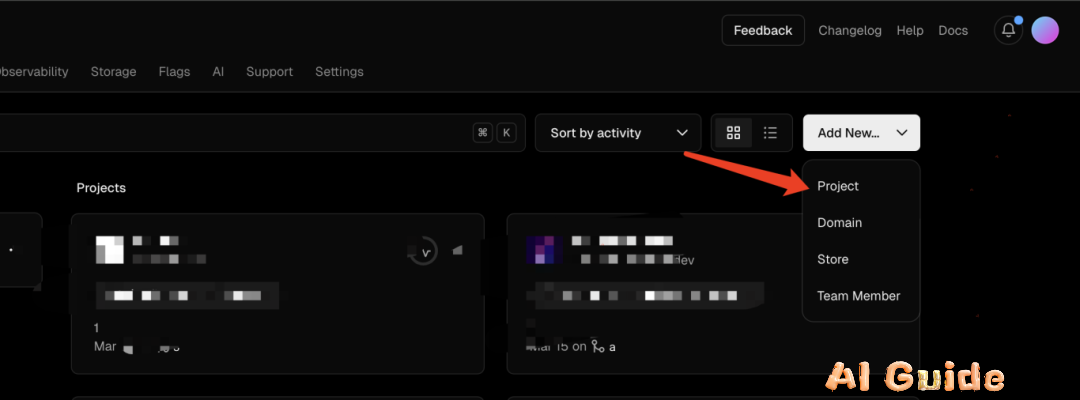
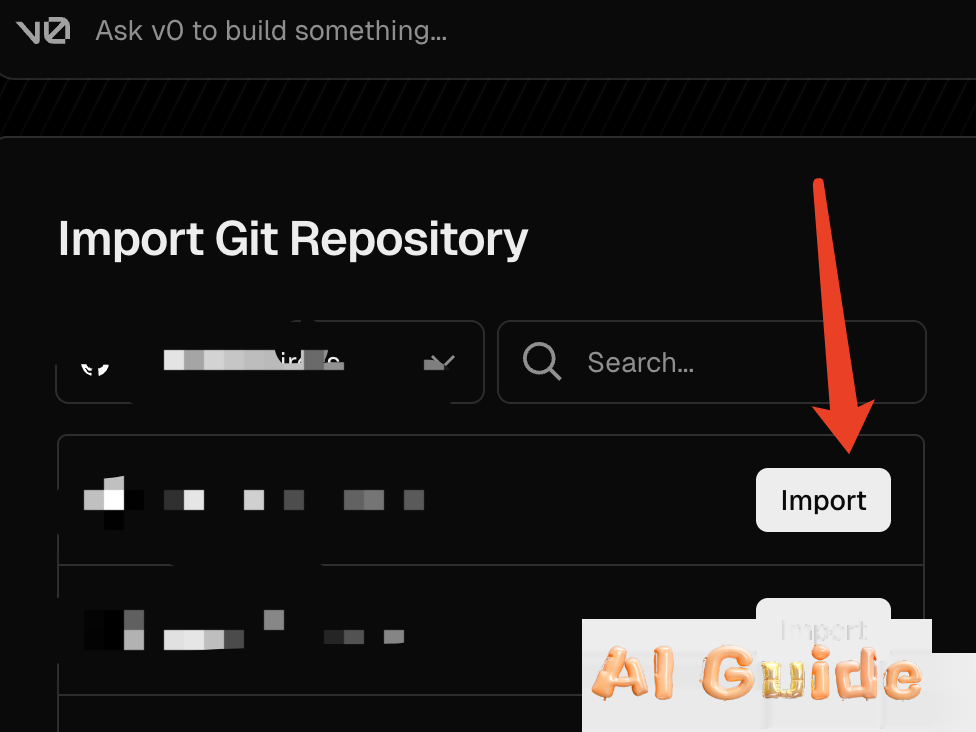
- Sign up on Vercel, create a project, and link your GitHub repository.
- Click Import → Deploy—Vercel automatically handles CI/CD and provides a live domain.
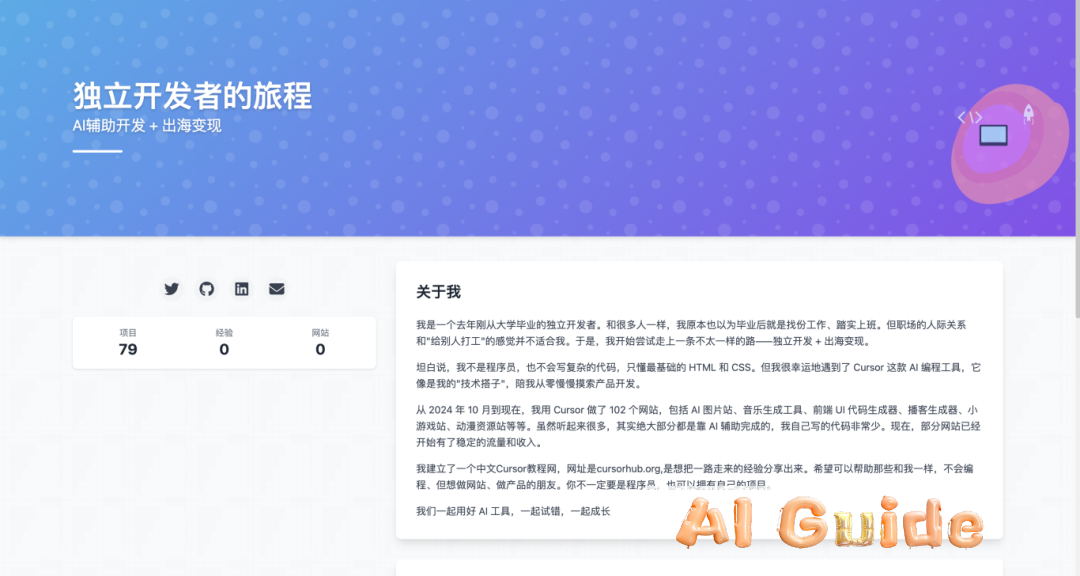
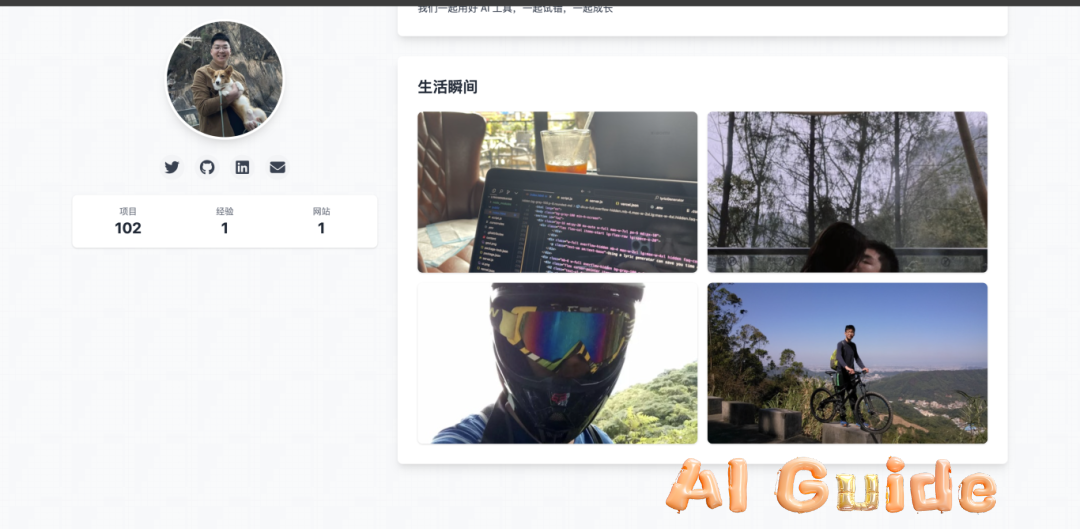
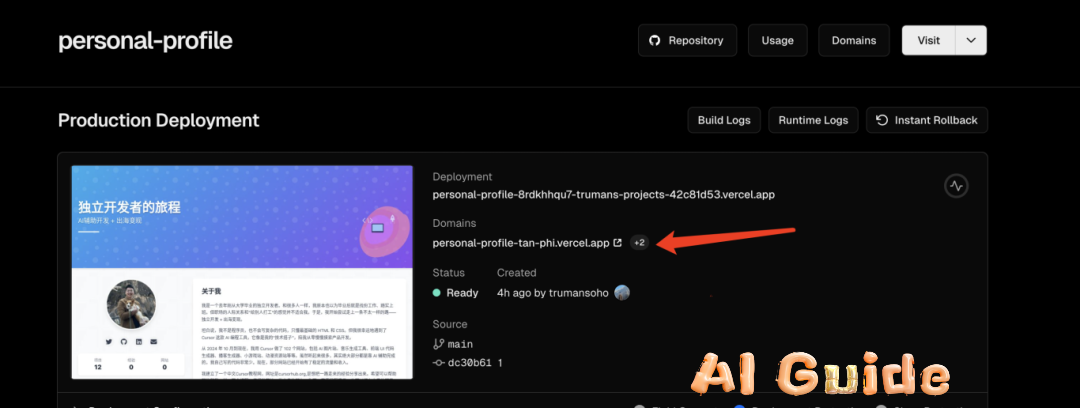
7. Final Result
Your blog will be live at your-project.vercel.app with:
• Responsive layout (Tailwind CSS)
• Optimized images (WebP format, lazy loading)
• SEO-friendly metadata
Why This Works: • Cursor’s AI-Driven Development: Streamlines code generation while adhering to modern standards.
• Vercel’s Zero-Config Deployment: Simplifies server setup and global CDN distribution.
Pro Tips: • Use git pull regularly to sync local and remote repositories.
• Add a robots.txt file for SEO optimization.
Join my Cursor Bootcamp for advanced tutorials on AI tooling, prompt engineering, and demand-driven project ideation. Let’s turn ideas into reality—one line of AI-generated code at a time 🚀.